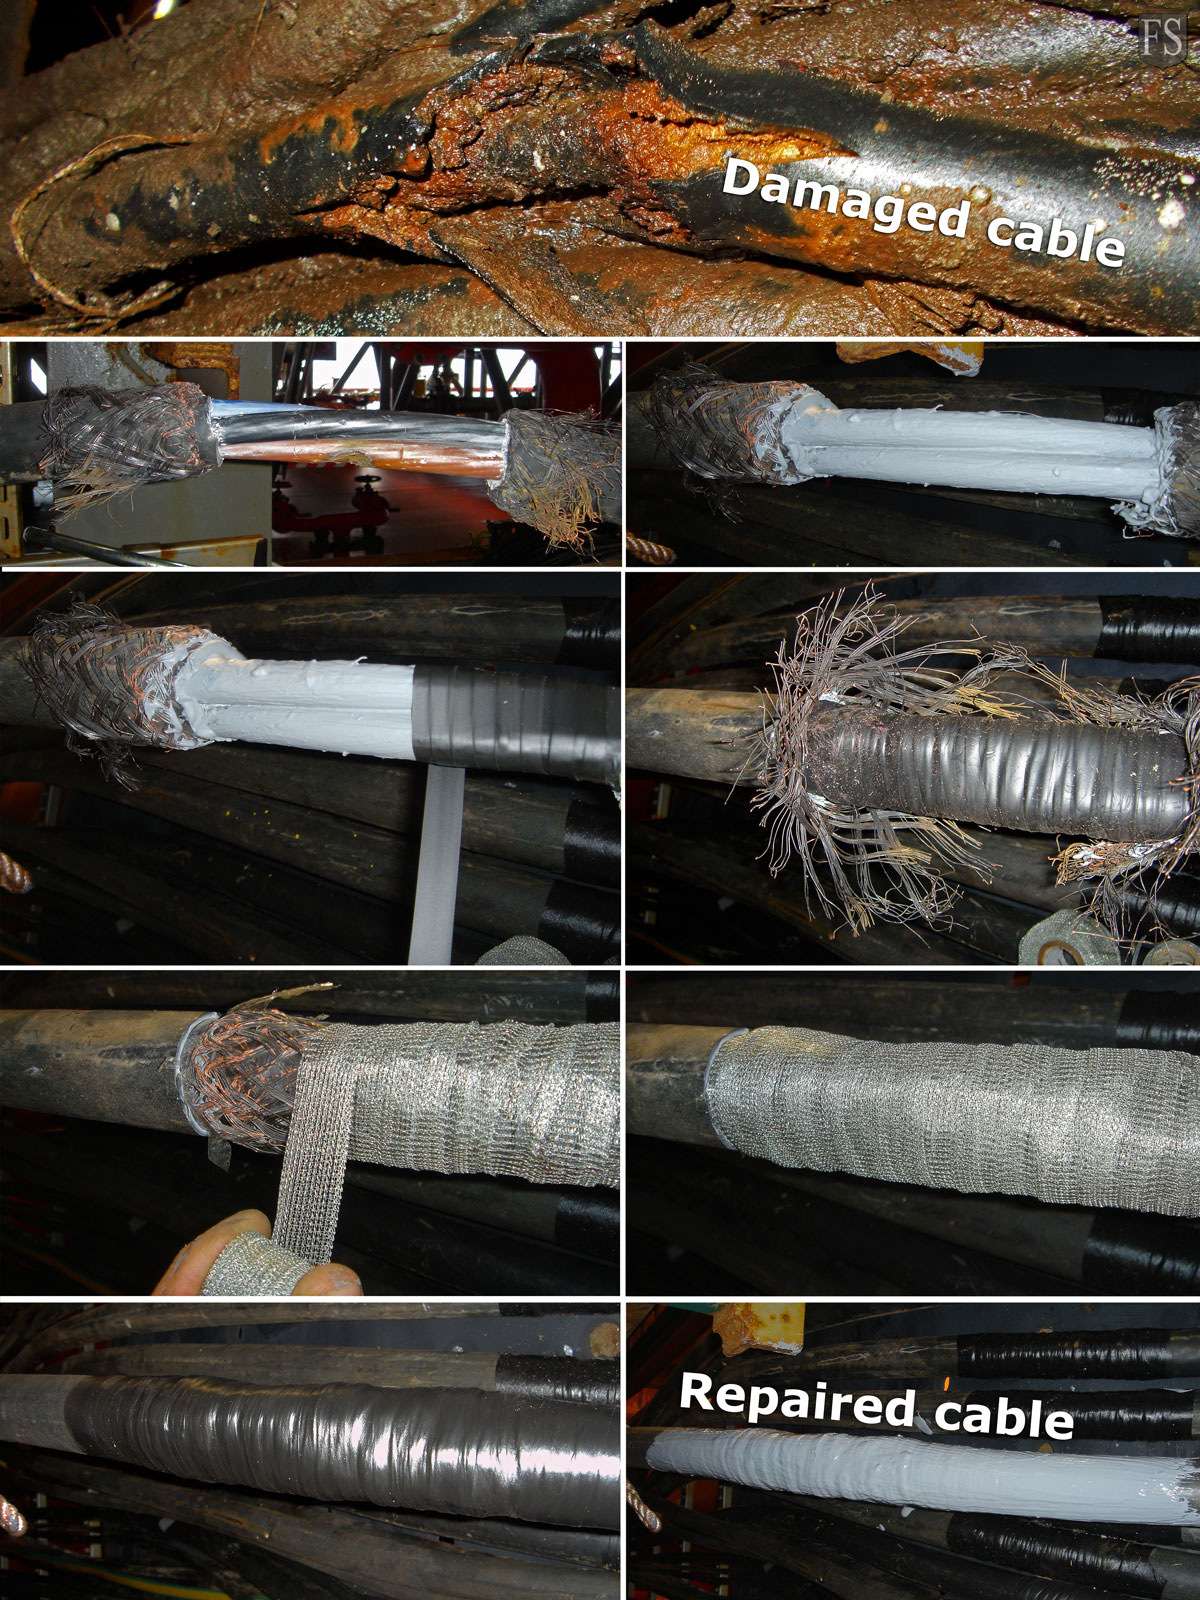
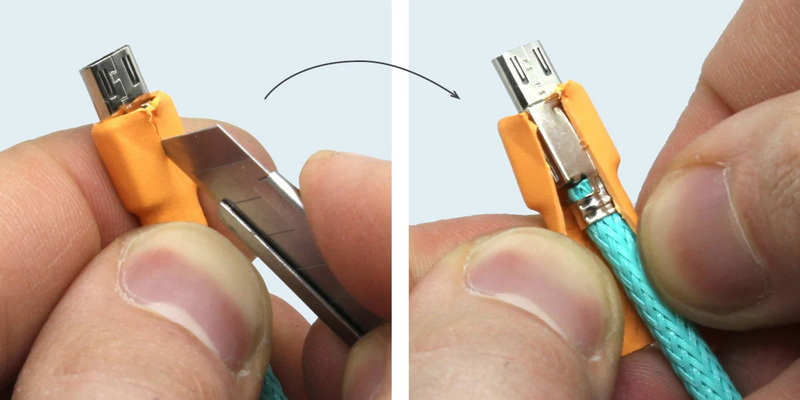
How to Repair Cables: Step‑by‑Step DIY Guide for Home
Understanding Cable Repair Basics
Whether you’re dealing with a frayed headphone cord, a cracked HDMI line, or a loose power cable, cable repair is a skill that saves money and reduces waste. Most problems stem from wear, accidental pulls, or exposure to moisture. Before you rush to buy a replacement, take a quick inventory: is the conductor broken, the insulation damaged, or merely the connector loose? Identifying the exact failure point guides the tools you’ll need and prevents unnecessary trips to the store.
Essential Tools and Materials
- Wire strippers – for cleanly removing insulation without nicking the copper.
- Soldering iron (15‑30 W) with a fine tip; a solder spool with rosin core.
- Heat shrink tubing – the easiest way to reseal repaired sections.
- Electrical tape (optional, for temporary fixes).
- Multimeter – to verify continuity after the repair.
- Small screwdriver set – useful for connector disassembly.
Preparing the Cable for Repair
First, unplug the cable from any power source. If it’s a data line, disconnect it from devices to avoid short‑circuiting. Using wire strippers, expose about 1 cm of the inner conductors at each end of the damaged area. Be gentle: you want the copper strands intact, not a frayed mess. If the outer jacket is cracked, trim it back just enough to give room for the heat‑shrink tubing later.
Next, inspect the exposed wires. For multi‑core cables (like Ethernet or speaker wire), note the color coding. A quick continuity test with a multimeter tells you which wires are still live and which have broken.
Soldering the Connection
Twist the corresponding wires together, making sure the strands interlock. A dab of solder on the joint secures the connection and improves conductivity. Heat the joint with the soldering iron, then feed a small amount of solder; it should flow smoothly and coat the wires evenly.
For connectors that are detachable (e.g., RCA, 3.5 mm plugs), you can replace the entire plug instead of soldering directly to the cable. Disassemble the old plug, slide the new one onto the stripped wires, and solder them inside the plug’s terminals. This method yields a more durable finish.
Sealing the Repair
While the solder is still warm, slide a piece of heat‑shrink tubing over the joint. Use a heat gun or the side of the soldering iron to shrink the tubing evenly. The result is a tight, insulated seal that mimics the original jacket.
If you don’t have heat‑shrink, wrap the joint with several layers of electrical tape, overlapping each turn to create a water‑resistant barrier. This is a temporary measure; replace the tape with shrink tubing as soon as possible.
Testing the Repaired Cable
Before you put the cable back into service, run another continuity check. A multimeter set to the “ohms” range should read near zero resistance for each repaired strand. If you notice any spikes, re‑inspect the solder joint for cold solder or stray strands.
Finally, reconnect the cable to its devices and perform a functional test—play audio through headphones, stream video over HDMI, or run a network speed test for Ethernet. A successful test confirms that the repair holds under real‑world conditions.
Common Pitfalls and How to Avoid Them
- Over‑stripping insulation – Removing too much jacket leaves the joint exposed to mechanical stress.
- Cold solder joints – Dull, grainy solder indicates insufficient heat; re‑heat and add fresh solder.
- Skipping continuity checks – Assumes the repair works, but hidden shorts can damage equipment.
- Using the wrong heat‑shrink size – Too tight can tear, too loose leaves gaps; measure before cutting.
When to Replace Instead of Repair
Not every cable is worth salvaging. If the outer jacket is extensively cracked, the internal conductors may have suffered repeated stress, leading to intermittent failures. High‑current power cords, especially those feeding appliances, should be replaced if any sign of melting appears. For critical applications—like server networking or professional audio—opting for a new, certified cable ensures reliability.
Quick Reference Checklist
- Identify the failure point.
- Gather strippers, soldering iron, solder, heat‑shrink, and multimeter.
- Strip only the necessary length of insulation.
- Twist and solder matching wires.
- Apply heat‑shrink tubing while solder is hot.
- Test continuity and functionality.
Frequently Asked Questions
Can I use electrical tape as a permanent fix?
Electrical tape provides a short‑term seal but degrades under heat and flexing. For lasting repairs, heat‑shrink tubing is the preferred choice.
Do I need a high‑wattage soldering iron for cable work?
A 15‑30 W iron is sufficient for most small‑gauge wires. Higher wattage can overheat delicate insulation, causing more damage.
Is it safe to repair a USB cable that carries power?
Yes, as long as you verify that all connections are solid and the insulation is fully restored. Faulty repairs on power‑carrying USBs can lead to overheating, so double‑check with a multimeter.
How often should I inspect my home’s cables?
A visual inspection every six months helps catch early wear. Pay extra attention to cords that bend frequently or sit near heat sources.