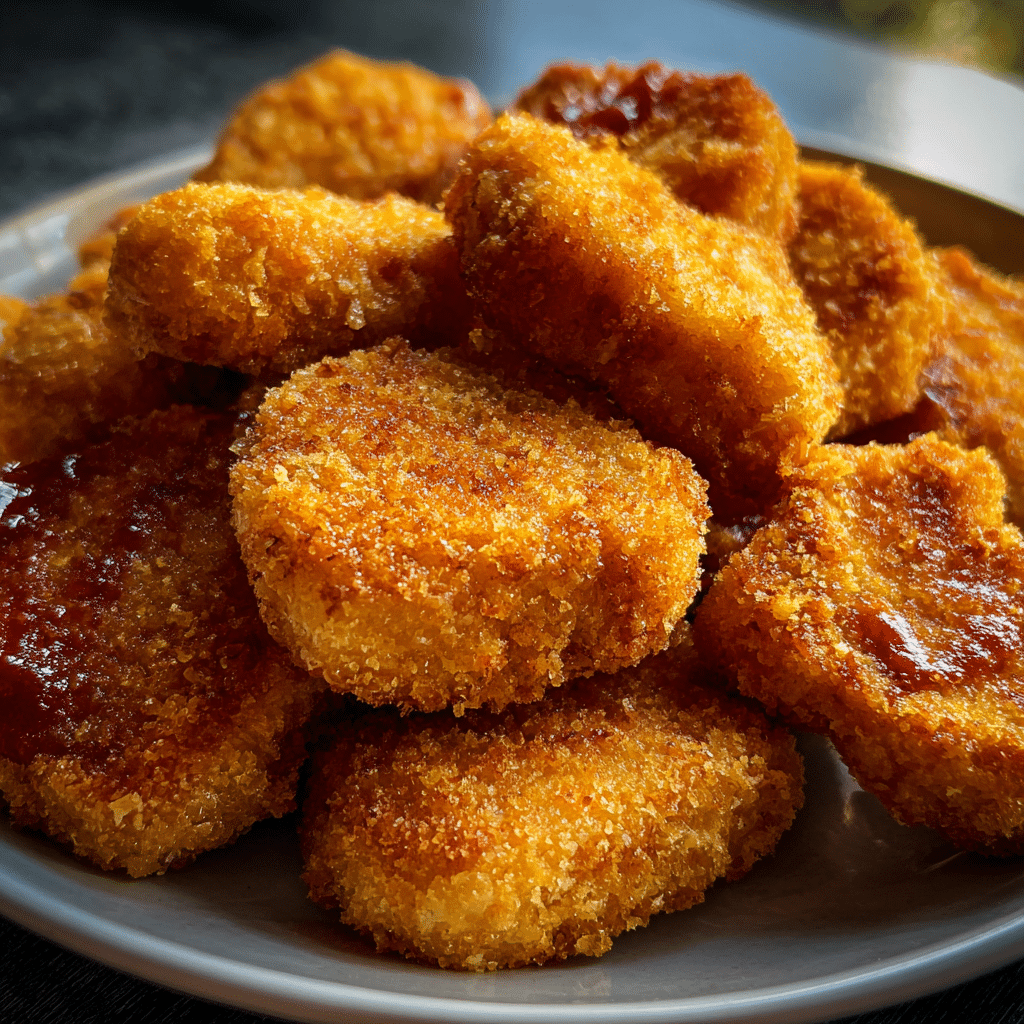
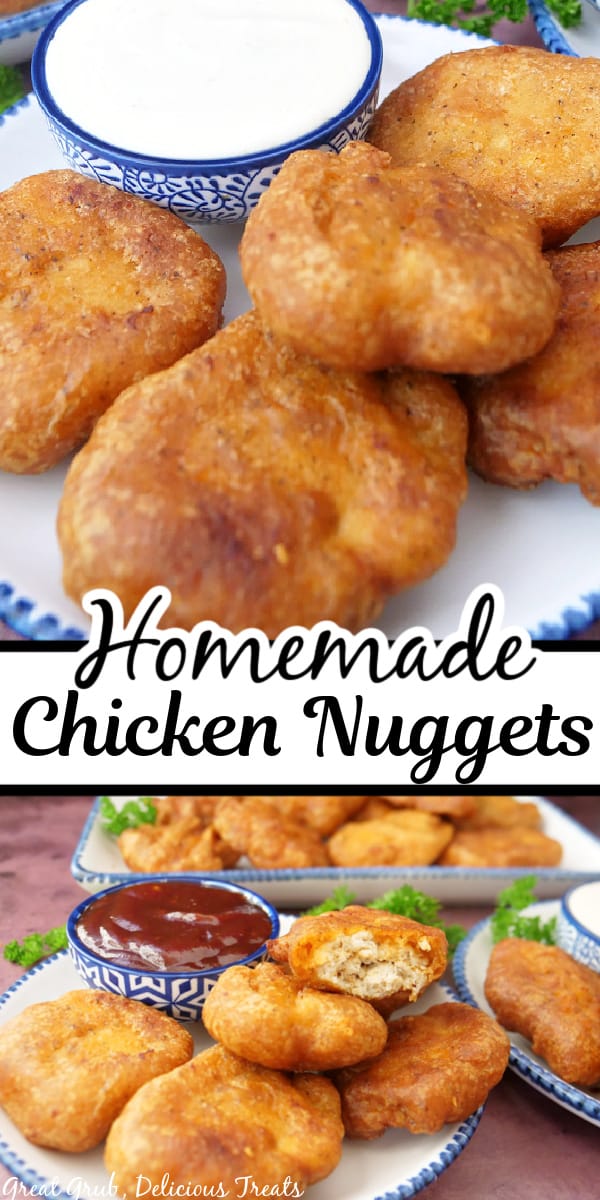
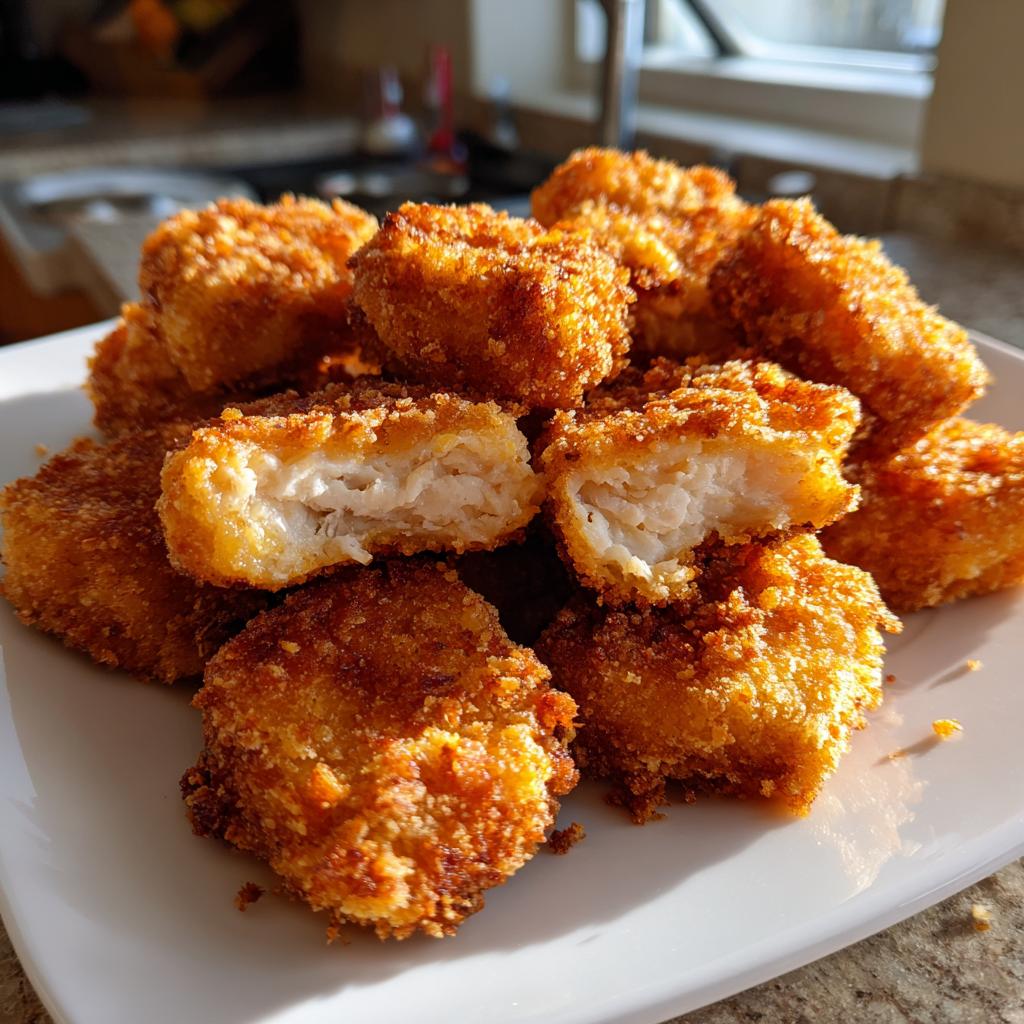
How to Make Crispy Homemade Chicken Nuggets Your Kids Will Love
There’s something magical about a plate of golden‑brown nuggets that disappears in seconds. As moms, we often reach for the frozen aisle because it’s quick, but a few simple steps can turn a pantry staple into a kitchen triumph that’s healthier, tastier, and surprisingly easy. Below is a practical guide that walks you through every decision—from choosing the right cut of meat to mastering a crunchy coating—so you can serve homemade chicken nuggets that feel indulgent without the mystery ingredients.
Why Homemade Beats the Frozen Version
Frozen nuggets are convenient, yet they hide sodium, preservatives, and sometimes mystery fillers. When you make them at home, you control the seasoning, the quality of the chicken, and the cooking method, which means fewer hidden additives and a better balance of protein and flavor. Plus, kids love the pride of eating something “made by Mom,” and you’ll often hear them asking for seconds.
Picking the Best Chicken
Start with boneless, skinless chicken breasts or thighs. Breasts give a leaner bite, while thighs stay juicier if you’re worried about dryness. Cut the meat into uniform bite‑size pieces—about one inch across—to ensure even cooking. If you want an extra‑soft interior, give the chunks a quick 15‑minute brine in a cup of water with a pinch of salt; it helps the meat retain moisture.
The Core Ingredients You’ll Need
- 1 lb chicken (breasts or thighs), cut into nuggets
- ½ cup all‑purpose flour
- ½ cup panko breadcrumbs for extra crunch
- ¼ cup grated Parmesan (optional, for flavor)
- 1 tsp paprika, ½ tsp garlic powder, ½ tsp onion powder
- 1 egg, lightly beaten
- Salt and pepper to taste
- Cooking oil (olive oil for baking, or a neutral oil for pan‑frying)
Preparing the Chicken for Coating
Pat the chicken pieces dry with paper towels—moisture is the enemy of a crisp crust. Toss the nuggets in a shallow bowl of seasoned flour; this first layer creates a dry surface that helps the egg adhere. Shake off excess flour before dipping each piece into the beaten egg, making sure the coating is thin but complete.
Choosing a Breading Technique
For the ultimate crunch, combine panko with a touch of grated Parmesan and your spice mix. After the egg dip, roll each nugget in the breadcrumb mixture, pressing lightly so it sticks. If you prefer a double‑crust, repeat the egg‑dip and breadcrumb steps a second time—this yields a thicker shell that stays crisp even after reheating.
Cooking Options: Oven, Air Fryer, or Skillet?
Oven: Preheat to 425°F (220°C). Arrange nuggets on a parchment‑lined sheet, drizzle lightly with oil, and bake for 12‑15 minutes, turning halfway. This method gives an even, golden finish without much hands‑on time.
Air Fryer: Set to 400°F (200°C) and cook for 8‑10 minutes, shaking the basket at the 5‑minute mark. The rapid hot air circulation mimics deep‑frying but uses a fraction of the oil.
Skillet: Heat a thin layer of oil over medium‑high heat. Fry the nuggets for 3‑4 minutes per side until they’re deep golden. This is the fastest route to that restaurant‑style crunch, but watch the temperature to avoid burning.
Tips for Extra Crunch Without Extra Calories
- Swap half the panko for crushed cornflakes for a subtle sweetness and extra texture.
- Sprinkle a pinch of baking powder into the flour coating; it creates tiny air pockets that expand during cooking.
- Finish with a quick spray of cooking oil just before the last few minutes of baking—this gives a glossy sheen without soaking the nuggets.
Storing and Reheating Like a Pro
Cool the nuggets completely on a wire rack, then store in an airtight container. In the fridge they stay fresh for three days; for longer keep them frozen on a parchment sheet before transferring to a zip‑top bag. To reheat, a 3‑minute blast in a preheated 400°F oven restores crispness better than a microwave.
Serving Ideas That Make Them Feel Special
Pair the nuggets with a trio of dipping sauces—classic honey‑mustard, a mild ranch, and a sweet‑spicy yogurt dip. For a balanced plate, add carrot sticks, cucumber ribbons, or a small fruit salad. Kids love the “build‑your‑own” dip station, and it sneaks in extra veggies.
FAQ
Can I freeze the nuggets before cooking?
Yes. After breading, lay the raw nuggets on a tray, freeze solid (about 2 hours), then transfer to a freezer bag. Cook straight from frozen; just add a couple of minutes to the baking or air‑frying time.
What’s a good gluten‑free alternative to the flour coating?
Use a blend of rice flour and cornstarch in place of all‑purpose flour. The texture remains light, and the panko can be swapped for gluten‑free breadcrumbs or crushed rice crackers.
How can I make the nuggets less greasy?
Opt for the oven or air‑fryer methods and use a light spray of oil instead of deep‑frying. Also, placing the cooked nuggets on a paper‑towel‑lined plate helps absorb any excess oil.
Are there ways to add extra nutrition without changing the flavor?
Mix finely grated zucchini or carrot into the breadcrumb mixture; the vegetables stay hidden but boost the vitamin content. A small amount of ground flaxseed can also be added for omega‑3s without altering taste.