How to Clean Your Window AC’s Evaporator Coil: A Simple Guide
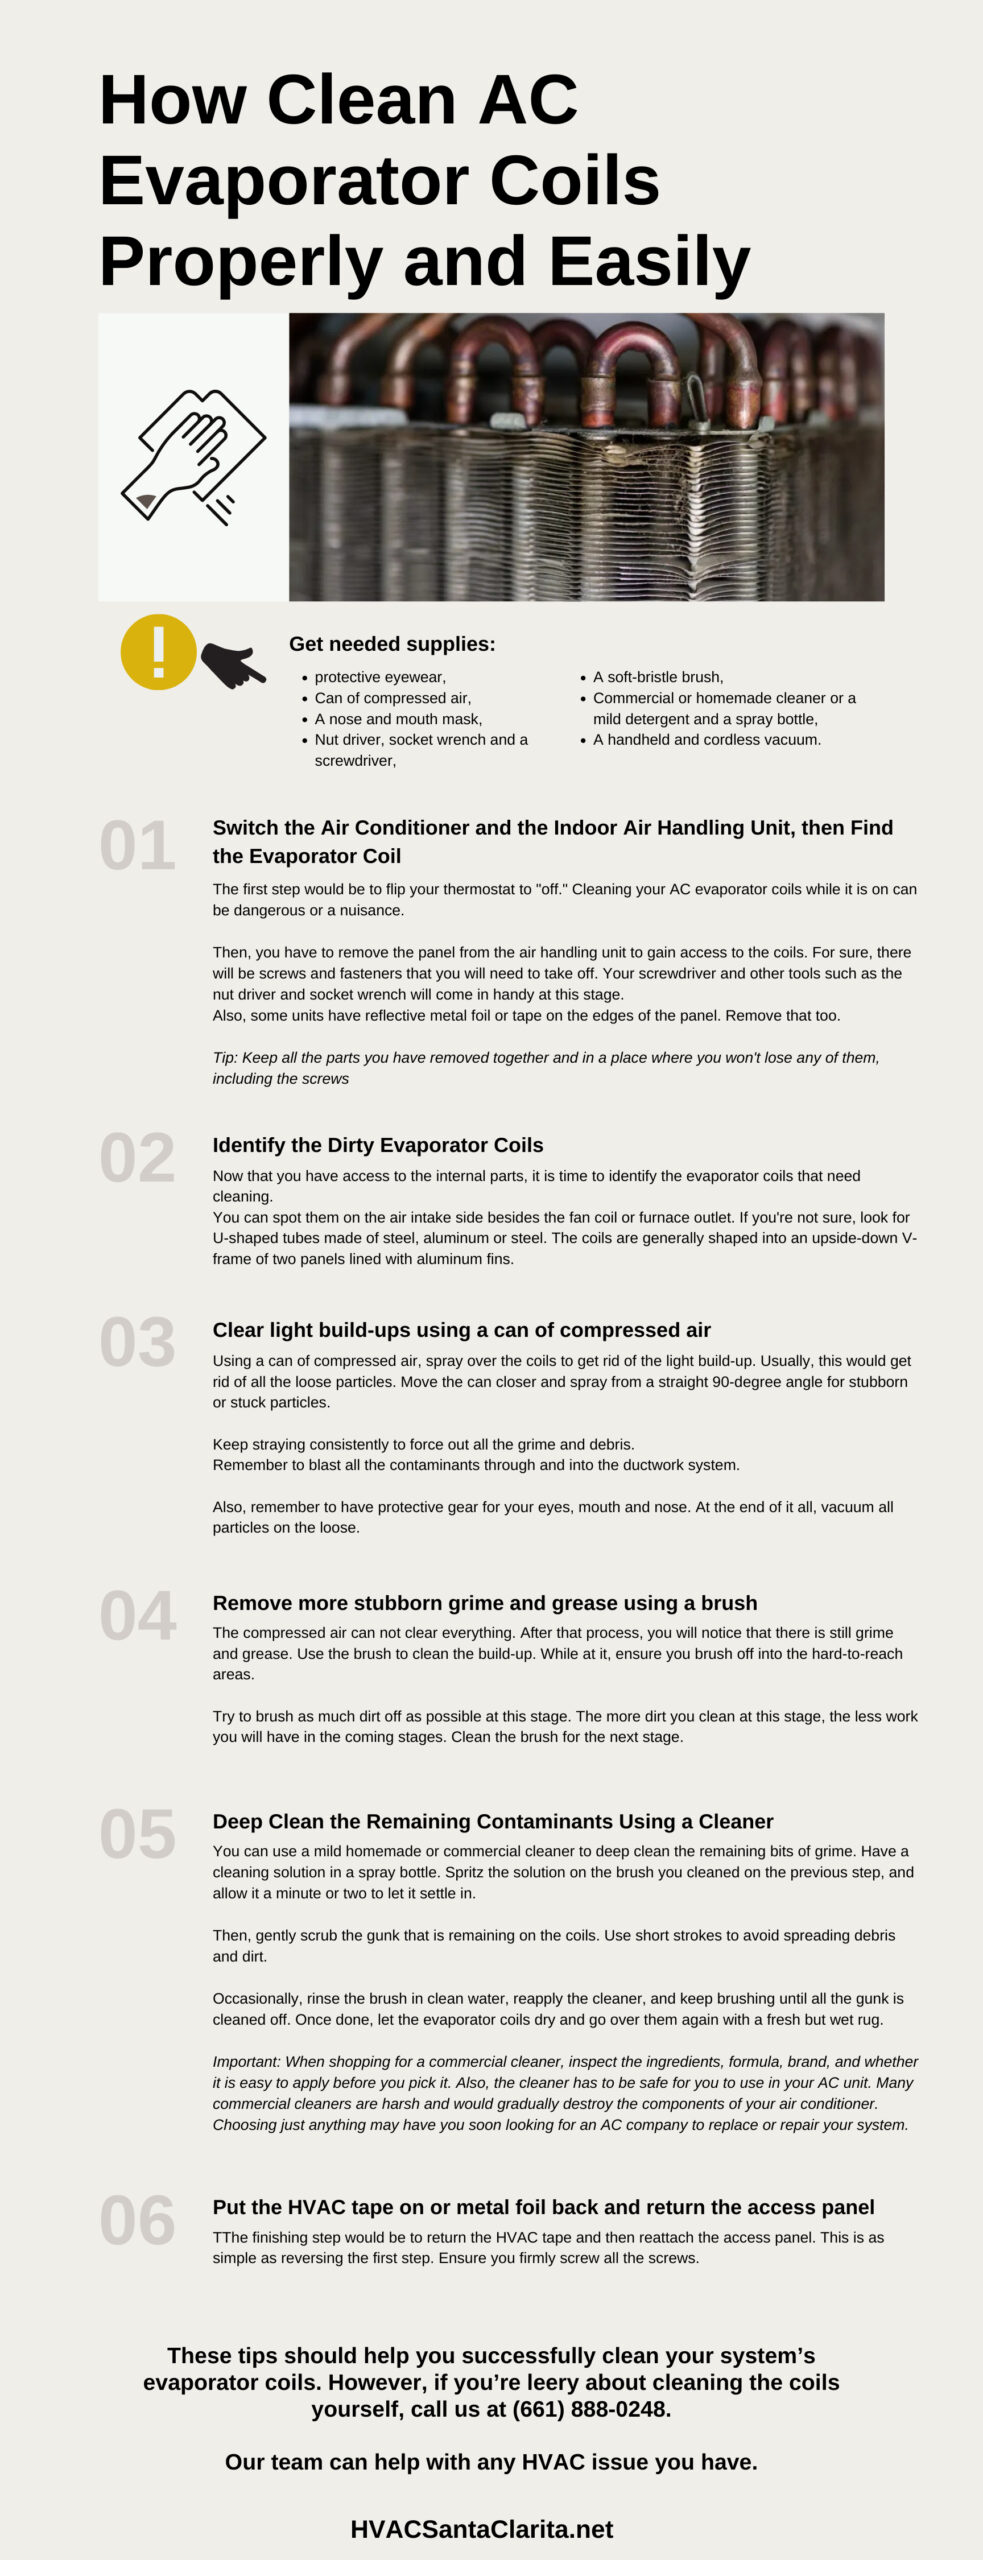
When the air from your window air conditioner feels weak or the unit runs longer than usual, the culprit is often a dirty evaporator coil. This thin, finned component extracts heat from the indoor air, and any buildup of dust, pollen, or mold can choke its efficiency. The good news? With a few tools and a bit of patience, you can restore your unit’s performance without calling a technician.
Why the Evaporator Coil Matters
The evaporator coil is the heart of the cooling cycle. As refrigerant flows through it, the coil absorbs heat, turning the surrounding air cool. Over time, airborne particles settle on the coil’s surface, creating a layer of grime that acts like insulation. This not only forces the compressor to work harder—raising energy bills—but can also lead to frozen coils and premature wear.
Safety First: Preparing Your Unit
Before you lift the front panel, make sure the unit is unplugged. Even a short electric shock can be dangerous, especially in a compact window model where components are tightly packed. If your AC is mounted high, enlist a sturdy step ladder and a partner to steady the unit while you work.
- Gather supplies: soft brush (or a coil cleaning brush), vacuum with a brush attachment, spray bottle with a commercial coil cleaner or a 50/50 mix of water and white vinegar, microfiber cloths, and a screwdriver if needed.
- Turn off the power: unplug the unit and, if your home has a dedicated circuit, flip the breaker to be extra sure.
- Protect the surrounding area: lay down a towel or drop cloth to catch drips and debris.
Cleaning the Evaporator Coil in Your Window Unit
With the unit safely powered down, you’re ready to tackle the coil. Follow these steps, and you’ll notice a difference in cooling within minutes of reassembly.
- Remove the front panel. Most window units have screws or clips holding the grille in place. Loosen them gently; the panel should swing forward, exposing the coil behind a thin metal mesh.
- Vacuum loose debris. Using the brush attachment, run the vacuum over the coil’s fins. Move in short strokes to avoid bending the delicate aluminum. This step lifts the bulk of dust before you apply any liquid.
- Apply the coil cleaner. Spray the cleaner generously onto the coil surface, ensuring full coverage. If you’re using a vinegar solution, mist it lightly. Let it sit for 5‑10 minutes; the solution will loosen stubborn grime.
- Brush gently. Take the soft coil brush and work from the top down, moving in the direction of the fins. This prevents bending and helps the cleaner penetrate deep into the crevices.
- Rinse carefully. Lightly mist the coil with clean water to flush out the dissolved dirt. Avoid soaking the surrounding electronics—use a spray bottle rather than a hose.
- Dry the coil. Pat the fins with a microfiber cloth and allow the unit to air‑dry for at least 15 minutes. A fan can speed up this process if you’re in a hurry.
- Reassemble. Snap the front panel back into place, tighten any screws, and plug the unit back in.
Turn the thermostat to a cool setting and listen for a smoother hum. If airflow feels stronger and the unit reaches the desired temperature faster, you’ve done your job right.
When to Call a Professional
While most homeowners can manage a basic coil cleaning, there are red flags that merit professional attention. Persistent freezing on the coil, a noticeable foul odor (possible mold growth), or a sudden loss of cooling despite a clean coil may indicate deeper issues such as refrigerant leaks or a malfunctioning fan motor. In these cases, a licensed HVAC technician can diagnose and fix the problem safely.
Maintaining Efficiency Year‑Round
Regular maintenance prevents the coil from getting into a state where a deep clean becomes necessary. Consider these quick habits:
- Monthly dusting: Run a handheld vacuum over the exterior grille to keep surface dust from migrating inside.
- Seasonal filter check: Replace or clean the air filter every 30‑60 days during heavy use; a clean filter reduces the amount of debris reaching the coil.
- Outdoor airflow: Ensure the unit’s exhaust vent isn’t blocked by curtains, furniture, or foliage, which can push dirty air back into the system.
By incorporating these habits, you’ll extend the life of your window AC and keep energy costs in check.
Frequently Asked Questions
Q: How often should I clean the evaporator coil?
A: For most households, a thorough cleaning once a year—ideally before the cooling season—keeps performance optimal. If you have pets or live in a dusty environment, a semi‑annual clean can be beneficial.
Q: Can I use household cleaners instead of a coil‑specific product?
A: Mild solutions like diluted vinegar work fine for light grime, but stronger commercial coil cleaners are formulated to break down oil and mineral deposits without damaging the fins. Avoid harsh chemicals such as bleach, which can corrode the coil.
Q: Will cleaning the coil improve my electricity bill?
A: Yes. A clean coil restores efficient heat exchange, allowing the compressor to run fewer cycles. Many users see a 5‑15% reduction in energy consumption after a proper cleaning.
Q: Is it safe to use a pressure washer on the coil?
A: No. The high pressure can bend the delicate fins and force water into electrical components, leading to short‑circuits. Stick to gentle spraying with a garden hose or spray bottle.