How to Calibrate an ORP Meter: A Simple Step‑by‑Step Guide
Why ORP Meter Calibration Matters
Oxidation‑Reduction Potential (ORP) meters are the unsung heroes of water quality testing, from swimming pools to hydroponic grow‑tanks. An uncalibrated sensor can drift by dozens of millivolts, turning a perfectly safe system into a guessing game. Regular calibration keeps the readings trustworthy and helps you make informed decisions about treatment, filtration, or nutrient dosing.
Gathering the Essentials for ORP Meter Calibration
Before you start, make sure you have the following items at hand:
- A fresh ORP electrode (cleaned and stored according to the manufacturer’s recommendations)
- Two standard ORP buffer solutions – commonly 250 mV and 500 mV, though some kits include a 0 mV reference
- Distilled or deionized water for rinsing
- A temperature‑compensated ORP meter with a calibration mode
- Soft lint‑free cloth or paper towels
If you’re working in a lab or commercial setting, a temperature probe that integrates with the meter can improve accuracy, especially when the water temperature strays from 25 °C (77 °F), the temperature at which most buffers are calibrated.
Step‑by‑Step Calibration Procedure
1. Prepare the Electrode
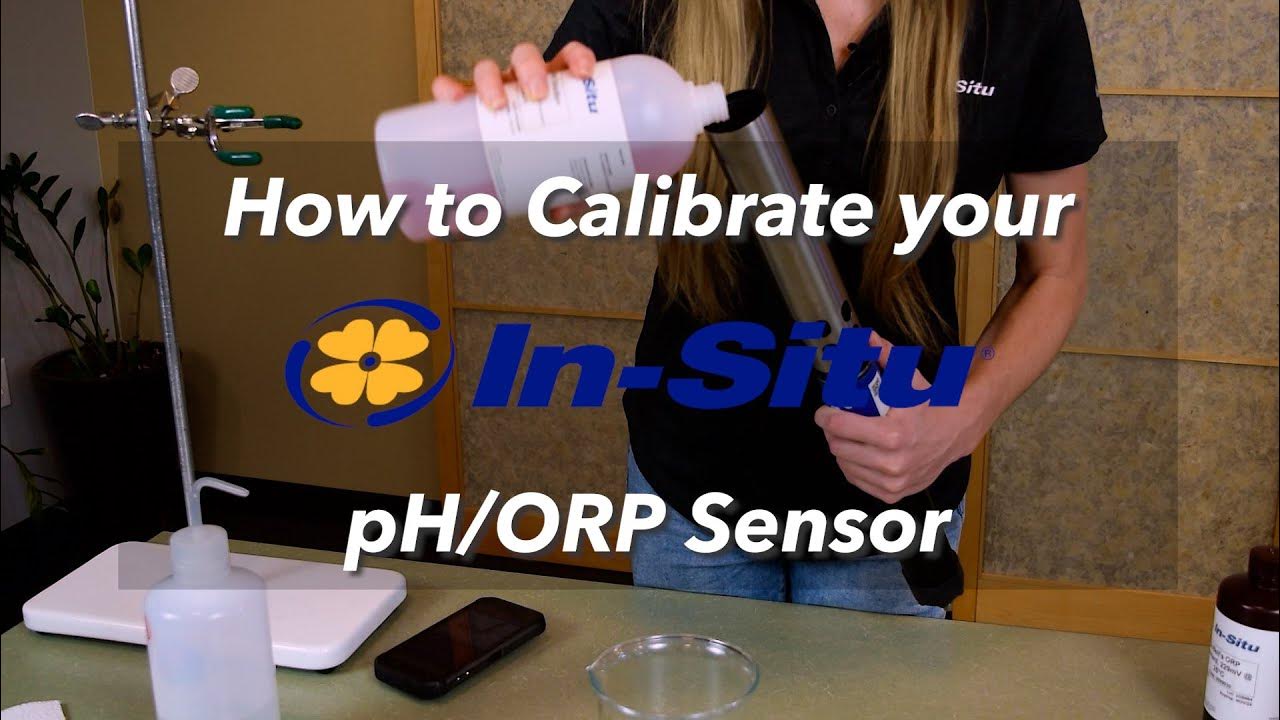
Rinse the ORP electrode gently with distilled water to remove any lingering contaminants. Pat it dry with a lint‑free cloth, but avoid rubbing the sensing tip. Some users like to dip the electrode briefly (a few seconds) in the 250 mV buffer to “wet” it before the first measurement.
2. Warm Up the Meter
Turn on the ORP meter and let it sit for a minute or two. Most modern meters perform a self‑check and display a stable baseline after a short warm‑up period. If the device shows “—” or “0.0” for an extended time, double‑check the battery and connections.
3. Set the Temperature Compensation
If your meter has automatic temperature compensation (ATC), enable it and let it read the ambient temperature. For manual compensation, adjust the reading according to the buffer’s temperature chart—typically a 1 mV shift per degree Celsius away from 25 °C.
4. Calibrate with the First Buffer (250 mV)
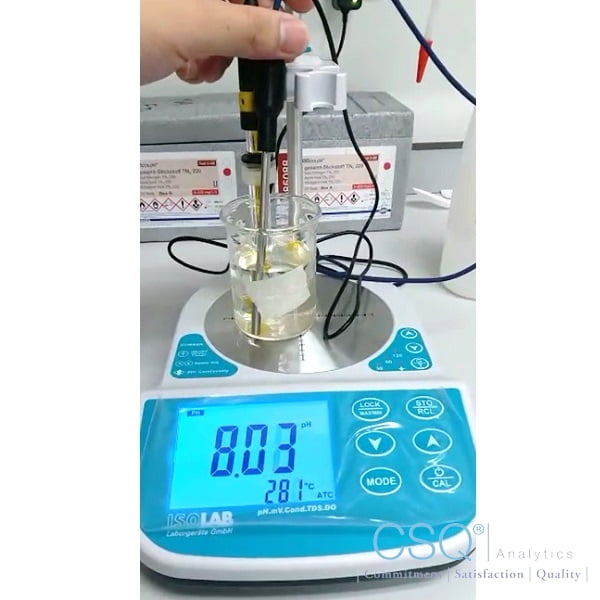
Immerse the electrode fully in the 250 mV solution, ensuring no air bubbles cling to the sensor. Allow the reading to stabilize; this may take 30 seconds to a minute. Once steady, access the meter’s calibration menu and select “Calibrate Low” or “Set Low Point,” then confirm the displayed value matches the buffer’s nominal 250 mV. If the meter allows fine‑tuning, adjust until the reading is within ±2 mV of the standard.
5. Rinse and Repeat with the Second Buffer (500 mV)
After recording the low point, rinse the electrode again with distilled water. Then plunge it into the 500 mV buffer, wait for stabilization, and set the “Calibrate High” or “Set High Point” value. Some meters automatically compute the slope between the two points, while others ask you to input both values manually.
6. Verify the Calibration
Return the electrode to the 250 mV buffer for a quick check. The reading should be within a few millivolts of the target. If it’s off, repeat the high‑point step or, in rare cases, replace the electrode if drift persists.
7. Store the Electrode Properly
When you’re done, rinse the tip, gently blot excess water, and store the electrode in a suitable preservation solution (often a potassium chloride gel). Keeping the electrode moist prevents the glass membrane from drying out, which is a common cause of calibration drift.
Common Calibration Pitfalls and How to Avoid Them
Buffer aging. Buffer solutions degrade over time, especially if exposed to light or high temperatures. Replace them according to the manufacturer’s shelf‑life recommendation—usually every six months for commercial kits.
Temperature mismatches. Using a buffer at a temperature far from 25 °C without compensation can introduce errors up to 10 mV per 10 °C. Always note the buffer temperature and apply the ATC setting.
Electrode fouling. Residual chemicals, bio‑film, or mineral deposits on the sensor tip can skew readings. A gentle soak in a mild cleaning solution (e.g., diluted vinegar) can revive a sluggish electrode, but be sure to rinse thoroughly afterward.
When to Calibrate Your ORP Meter
For most hobbyist applications—like home aquariums or small hydroponic setups—calibrate once a month. In professional environments, such as water treatment plants or research labs, daily calibration is often mandated by standard operating procedures. If you notice a sudden shift in readings after adding chemicals or changing water sources, perform an on‑the‑spot calibration before making further adjustments.
FAQ
How often should I replace the ORP electrode?
Typical glass‑based ORP electrodes last 1–2 years with proper care. If you see erratic drift despite fresh calibrations, it’s time to replace the sensor.
Can I use tap water as a calibration solution?
No. Tap water contains unknown ions and chlorine, which will give you a misleading ORP value. Always use certified buffer solutions for accurate calibration.
Is a 0 mV buffer necessary?
Most users find two‑point calibration (250 mV and 500 mV) sufficient. A 0 mV point can improve linearity but is rarely required unless you need ultra‑precise measurements for scientific research.
What if my meter doesn’t have a calibration menu?
Some entry‑level meters are “factory‑calibrated” and lack user‑adjustable settings. In that case, you’ll need to purchase a more advanced model that supports manual calibration.