How to Build a DIY Cardboard Cybertruck Costume
What You’ll Need Before You Start
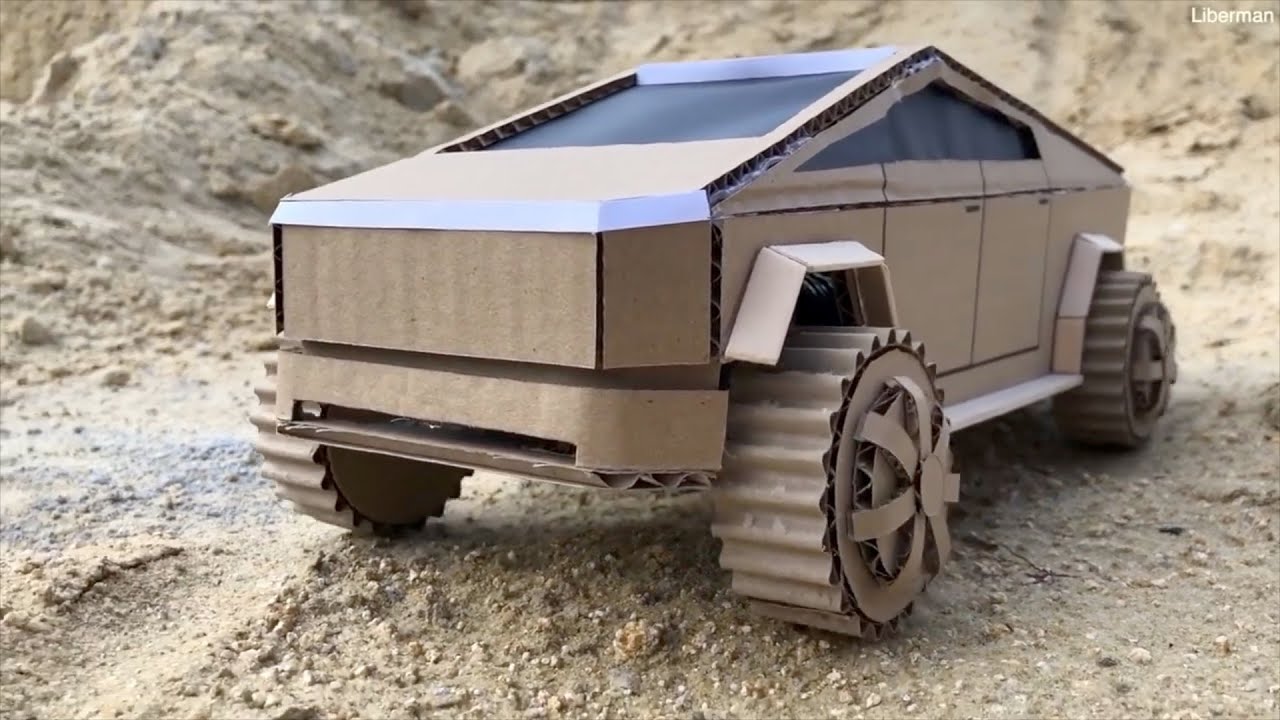
Before you dive into cutting and taping, gather the basics: large sheets of sturdy cardboard (think moving boxes), a sharp utility knife, a hot‑glue gun, and a roll of duct tape. You’ll also want a measuring tape, a ruler, and a marker for tracing straight lines. For the signature angular look, a set of small wooden dowels or Popsicle sticks works wonders as reinforcement. Finally, paint—metallic silver or matte gray—and some optional LED strips if you want the lights to actually glow.
Planning the Shape: Sketches and Templates
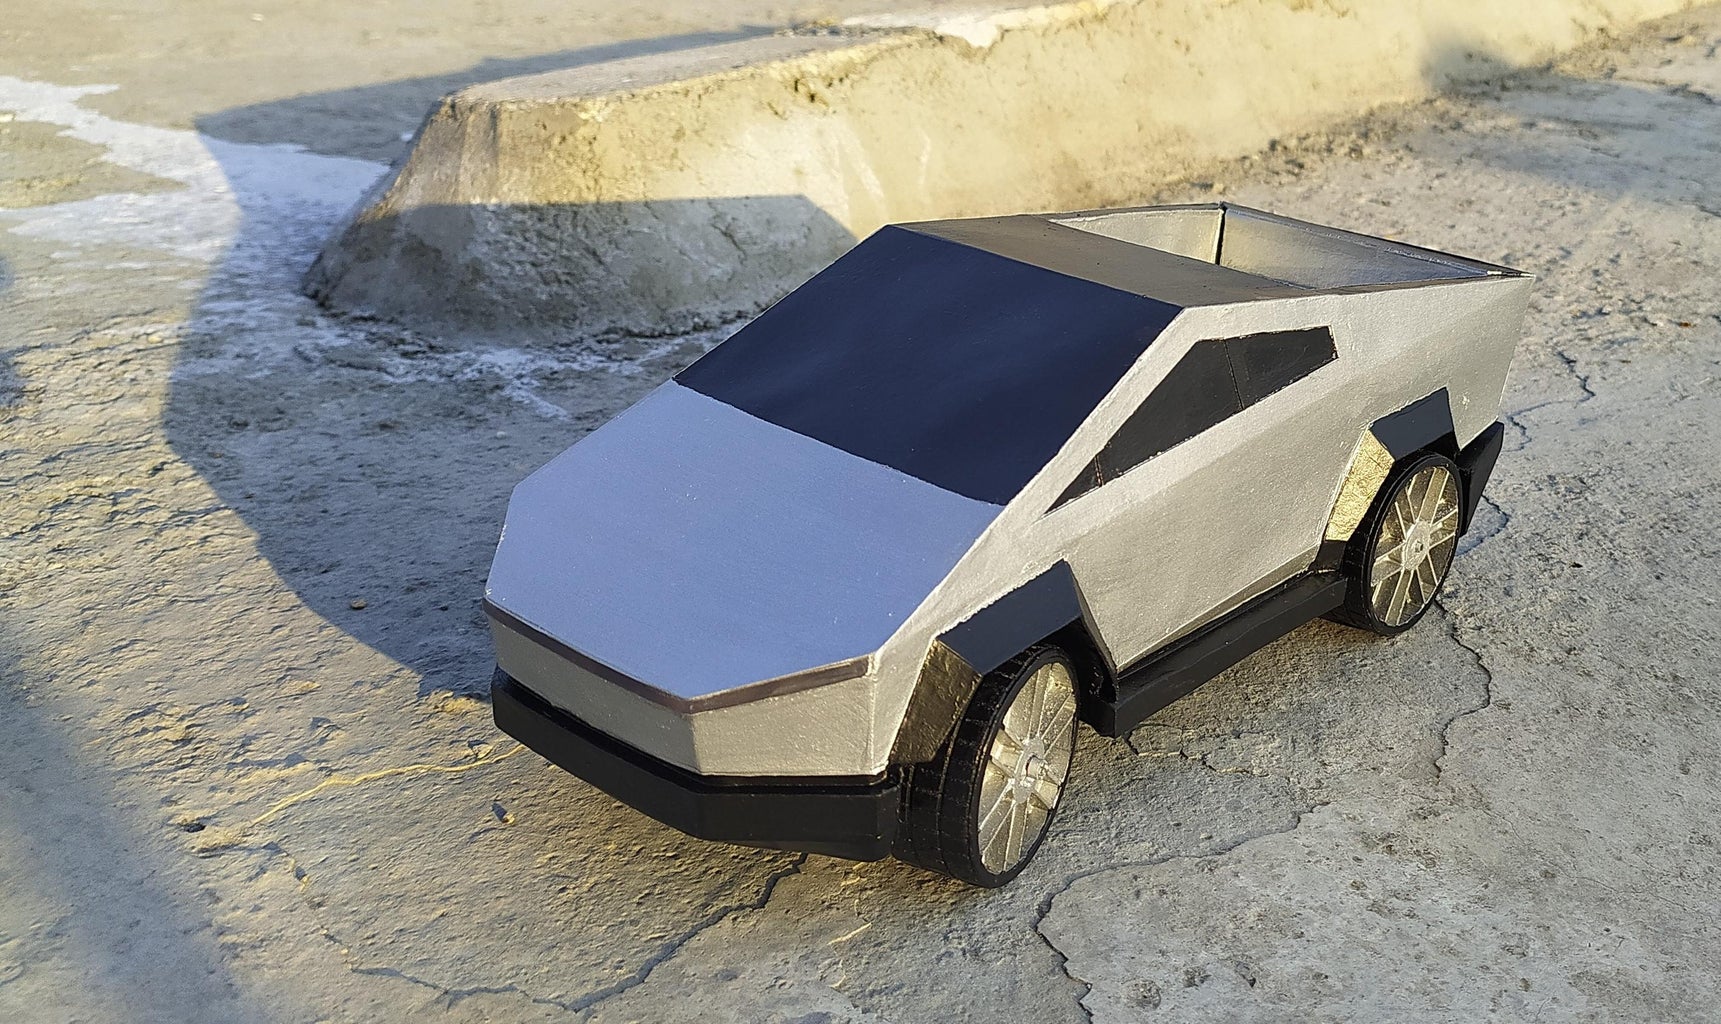
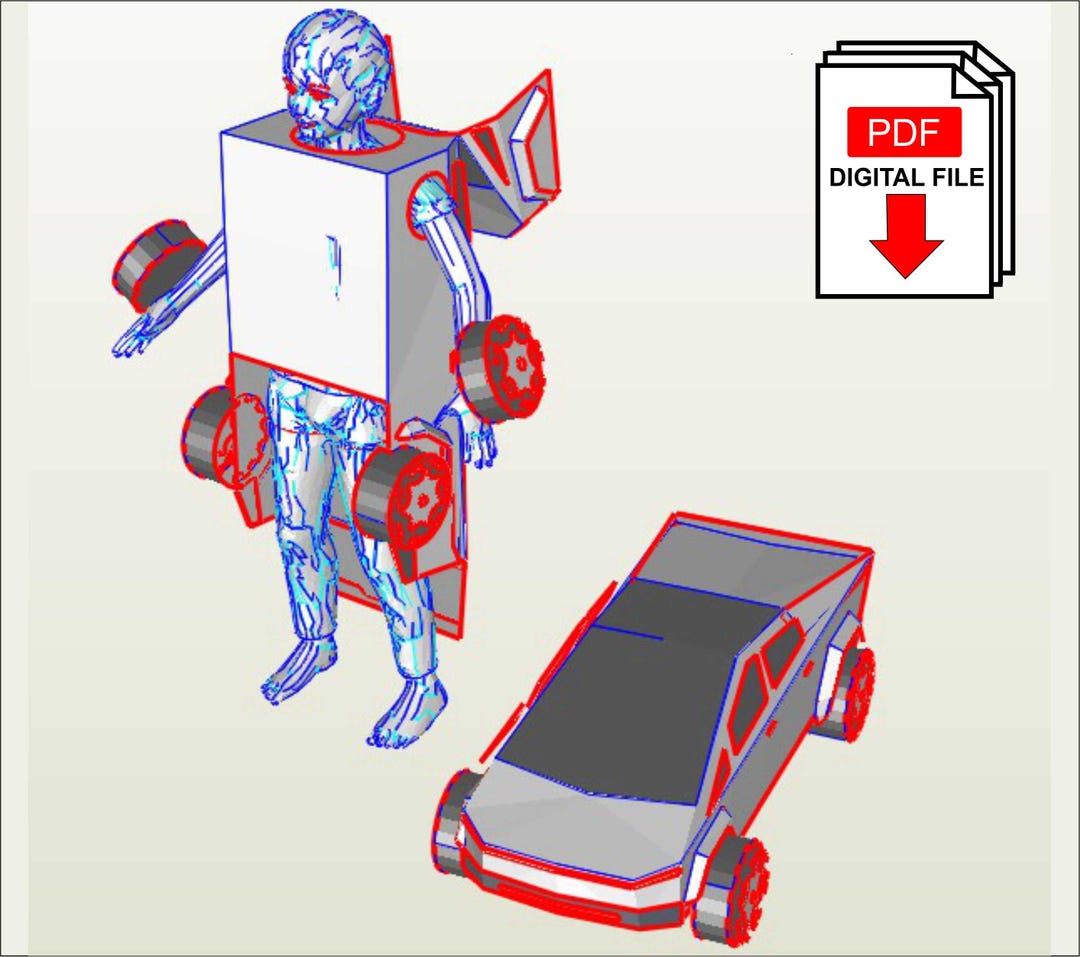
The Cybertruck’s silhouette is all about sharp edges and flat panels. Start by finding a clear side view image online and printing it to the size you want the costume to be. Cut out the outline and tape it to a full‑size piece of cardboard; this becomes your master template. Remember, the real vehicle is about 19 feet long, but a costume that reaches the wearer’s knees works best for mobility.
Creating the Main Body Panels
Measure the template’s length and width, then transfer those dimensions onto your cardboard sheets. Cut the pieces with a steady hand—use a metal ruler as a guide for clean cuts. For each panel, score a shallow line along the edges where you’ll fold them later; this makes the sharp angles look intentional rather than jagged.
- Step 1: Cut the front “cab” piece, which should be roughly a trapezoid that tapers toward the top.
- Step 2: Cut two side panels that wrap around the waist, each about 18 inches tall.
- Step 3: Cut a rear panel that mirrors the front but is slightly taller to suggest the truck’s bed.
Reinforcing the Structure
Cardboard alone can bend under the weight of the wearer, so add internal ribs. Insert dowels vertically every 12 inches along the length of each panel, securing them with hot glue. For extra rigidity, fold a strip of cardboard lengthwise and glue it to the inside of each panel’s edge. This “bone” structure keeps the costume from collapsing when you sit down or lean forward.
Assembling the Pieces
Begin with the front cab: align it with the side panels, overlapping the edges by about an inch. Use duct tape to seal the seams, running the tape both inside and out for a clean finish. Attach the rear panel in the same way, ensuring the angles line up so the costume retains that unmistakable geometric vibe. Once the main shell is together, step back and check for any gaps; seal them with more tape or a thin strip of cardboard.
Adding the Details
The Cybertruck’s look isn’t just big panels; it’s also the smaller features like the windshield, door handles, and the iconic “Tesla” logo. Cut a rectangle for the windshield and cover it with clear plastic from a food‑storage container. For handles, use small pieces of aluminum foil or painted craft sticks. If you’re feeling ambitious, print the logo on paper, laminate it, and attach it with a dab of glue.
Painting and Finishing Touches
Give the costume its metallic sheen with a base coat of spray paint—silver works best for a futuristic feel. After the base dries, lightly sand any rough spots and add a second coat if needed. For a more authentic look, dry‑brush black along the edges to mimic the shadows that naturally form on the real truck’s surfaces. If you have LED strip lights, tape them along the rear or under the “bed” to create a subtle glow.
Getting It On and Moving Around
Wear a fitted black shirt and leggings underneath; they’ll keep the cardboard from rubbing directly against your skin. Slip the costume over your head, securing the front panel with a strap made from old belts or elastic bands. Test your range of motion—if the sides feel too tight, trim a little off the inner seams. Remember, the costume is heavier than it looks, so take breaks if you plan on wearing it for an extended period.
Safety and Comfort Tips
Always keep a pair of scissors or a small knife handy in case you need to make quick adjustments. Use padding—foam or even a folded towel—inside the shoulder area to distribute weight more evenly. If you plan to use the costume at a crowded event, consider attaching reflective tape to the back for visibility. And, of course, avoid any open flames or heat sources near the cardboard.
Quick Recap of the Process
- Gather cardboard, tools, and paint.
- Sketch the Cybertruck’s outline and cut panels.
- Reinforce with dowels and internal ribs.
- Assemble panels with duct tape.
- Add windshield, handles, and logo.
- Paint, add LED lights, and fit the costume.
Frequently Asked Questions
Can I use corrugated cardboard instead of plain cardboard?
Yes, corrugated cardboard offers extra strength, but be mindful of its thickness; you may need a sharper blade and a longer drying time for glue.
How long does the whole build usually take?
For a first‑time maker, expect 6–8 hours spread over a couple of days—most of that time is spent cutting, gluing, and letting paint dry.
Is it possible to make a smaller, child‑size version?
Absolutely. Just scale down the template dimensions by about half and use lighter cardboard to keep it manageable for younger wearers.
Do I need special paint for cardboard?
A standard spray paint designed for metal works fine, but a matte acrylic paint can give a more subdued, industrial look if you prefer.






:quality(30):format(webp):focal(0.5x0.5:0.5x0.5)/pekanbaru/foto/bank/originals/Inilah-jawaban-tebak-tebakan-sesuai-yang-kdang-bisa-membuat-kita-tertawa-dan-menangis.jpg)

